Activate Daily Backups in Hostinger to keep a backup of your website from each of the last 7 days. Business/Unlimited web and higher plans include daily backups. Single and Premium web plans can add them from the Backups page, and VPS plans can add them from Snapshots & Backups.
How to activate Daily Backup for Single and Premium Web
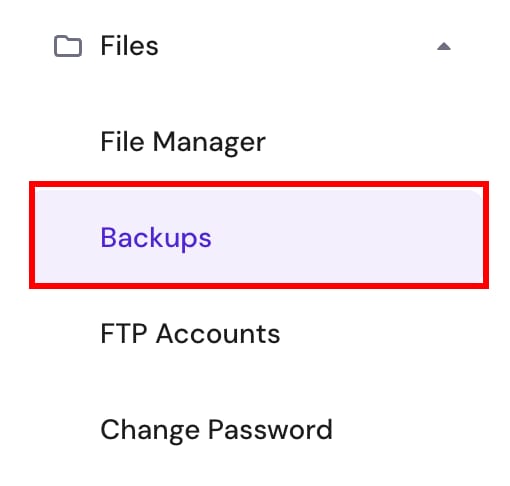
If you have a Single or Premium Web plan and want to have daily backups, you can easily purchase this feature. Just navigate to Websites → Dashboard and click on Backups under the Files menu on the left sidebar:
Next, click on the Get daily backups button:
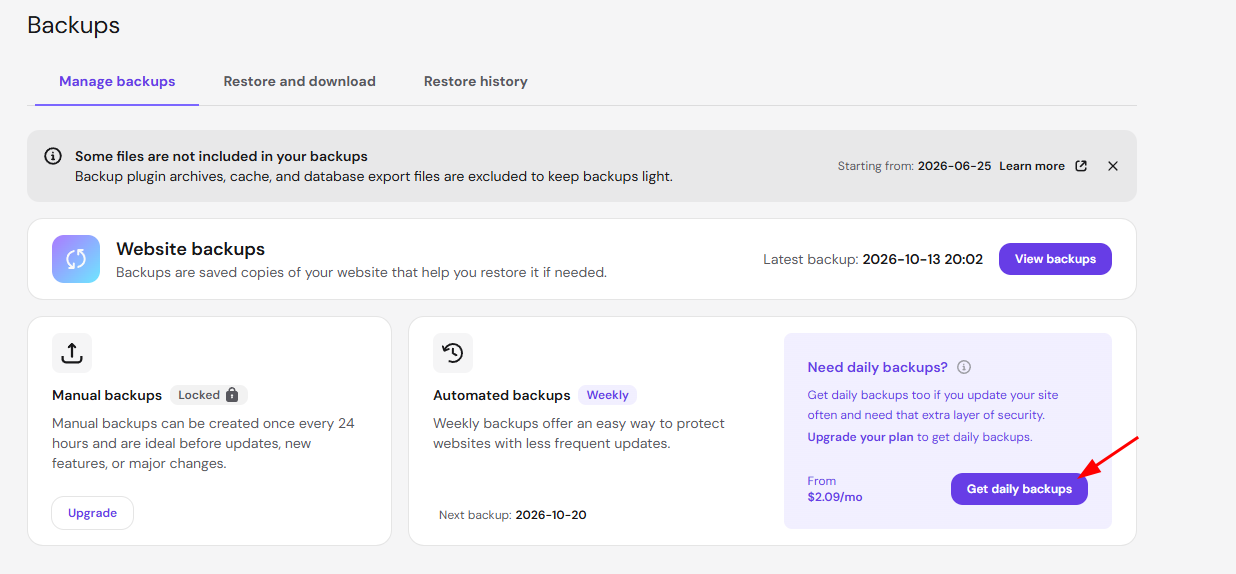
Select the duration and payment method, and that’s it! Your hosting plan will start generating daily backups. These backups are stored separately from your hosting, so they don’t take up space on your disk quota.
Daily backups are created and stored for the last 7 days. After that time, they are automatically deleted.
Manual deletion of these backups is not supported. To save a backup outside the daily schedule, create a backup manually.
Alternatively, you can get daily backups by upgrading your hosting plan to Business/Unlimited Web Hosting or above.
How to activate Daily Backups for VPS
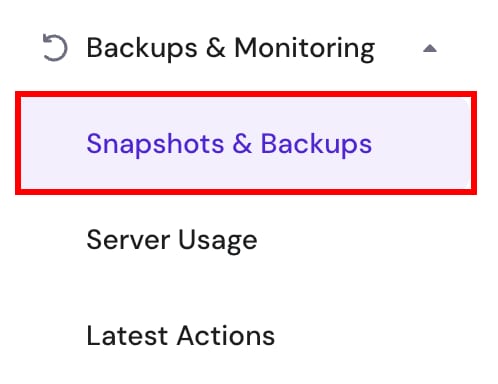
To activate daily backups for a VPS, go to the VPS section of Hostinger dashboard, choose the server in question, and click on Snapshots & Backups in the left sidebar under the Backups & Monitoring menu:
Once there, click Upgrade under Daily Backups:

Your VPS will now begin storing daily backups. These backups are stored separately from your hosting, so they don’t take up space on your disk quota.
Daily backups are created and stored for 2 most recent daily backups and 2 most recent weekly backups. After that time, they are automatically deleted.
Manual deletion of daily VPS backups is not supported.
With daily backups active, you can roll your website or VPS back to any of the stored daily backups.