How to Improve Website Performance: Leverage Browser Caching
Improving website performance is essential to reduce bounce rates and drive more traffic. One of the ways to do that is to leverage browser caching.
This tutorial will explain more about browser caching and why it is important. In addition, we will share how to leverage browser caching using .htaccess and with plugins.
Finally, this article will show how to check if your website performance has improved with a speed test.

What Is Browser Caching
Caching is a technique used by browsers to store pages’ content in the local storage. As such, users won’t have to download the same data all over again when revisiting the site.
Here’s how it works: when you visit a site for the first time, the browser will download content from the server. But, when you revisit the page — or refresh it, the loading time will be shorter since the browser has stored some of the content in the web cache.
Keep in mind that browsers can only cache static content, which is delivered to the users without any modification from the server. The most common examples of static content are images, HTML, CSS, and JavaScript.
The site owner can set how long the content will be cached. For example, if the interval is one year, then the cache will be cleared after that time.
Why Do We Need to Leverage Browser Cache
If you’ve used analyzer tools like GTMetrix and Google PageSpeed Insights, you can see they recommend users to enable browser caching.
But the question is, aside from cutting loading time, what makes this technique a must-do for site owners?
Well, here are other benefits that you’ll get by leveraging browser caching:
- Reduce bandwidth consumption — the browser won’t have to download the static content all over again.
- Cut the number of requests to the server — instead of loading from servers, the content will be loaded from the cache.
- Better user experience — a fast site leads to happy visitors.
- Improve SEO (Search Engine Optimization) — Google announced that page speed is one of the ranking factors for mobile searches.
Leveraging Browser Cache Using .htaccess
First thing first, you can leverage browser caching by modifying the .htaccess file. To do so, you can use an FTP client like FileZilla or the file manager in your web hosting control panel. This method might suit you well if you’re an advanced user.
In this tutorial, we’re going to use Hostinger’s hPanel:
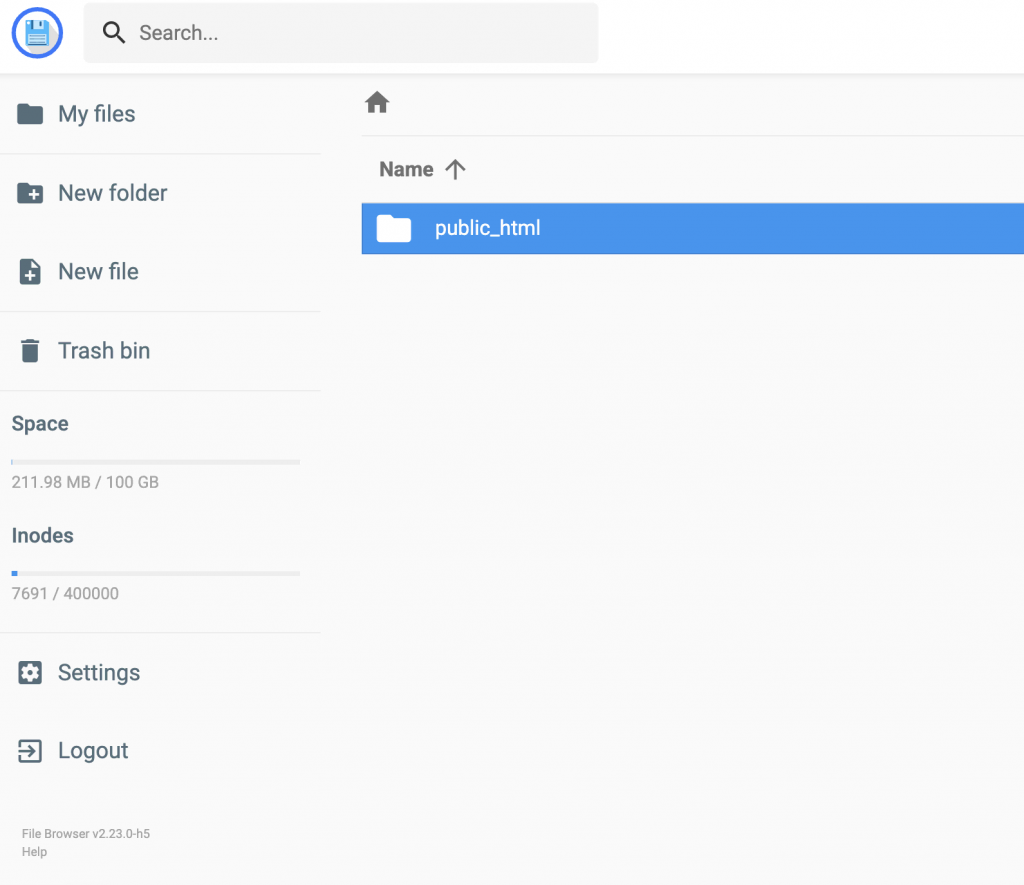
- Open the File Manager under the Files section and access the public_html directory.
- Double-click on the file and insert the following code:
## EXPIRES CACHING ## <IfModule mod_expires.c> ExpiresActive On ExpiresByType image/jpg "access plus 1 year" ExpiresByType image/jpeg "access plus 1 year" ExpiresByType image/gif "access plus 1 year" ExpiresByType image/png "access plus 1 year" ExpiresByType text/css "access plus 1 month" ExpiresByType application/pdf "access plus 1 month" ExpiresByType text/x-javascript "access plus 1 month" ExpiresByType application/x-shockwave-flash "access plus 1 month" ExpiresByType image/x-icon "access plus 1 year" ExpiresDefault "access plus 7 days" </IfModule> ## EXPIRES CACHING ##
- Hit Save & Close.
Notice from the code above that each file type has its own expiry time. For instance, gif images will be stored for one year.
You can adjust the expiry times according to your needs. However, make sure that it’s not too long because your recurring visitors might not get the updated version of your site.

Leveraging Process With Plugins
One of the easiest ways to leverage browser caching and speed up a WordPress site is by using plugins. There are plenty of caching plugins available in the plugin directory, but we recommend using WP Rocket and WP Fastest Cache.
1. WP Rocket

WP Rocket is a performance optimization plugin that will help you improve your site speed through various features, including browser cache.
If you’re using an ecommerce platform like WooCommerce, Jigoshop, or WP-Shop, you might want to avoid storing high-risk data like customers’ addresses and payment details. For that reason, WP Rocket will automatically prevent browsers from caching cart and checkout pages.
Furthermore, it also provides other speed improvement features like GZIP compression, JavaScript, HTML, and CSS minification, and query strings removal. To get those functions, you can purchase one of its three paid plans that range from $49 to $249/year.
Each license will provide support and updates for one year. If you renew the license, you’ll get a 30% discount.
You don’t need to copy-paste any license key when installing the plugin as it will be activated automatically.
2. WP Fastest Cache

If you’re looking for a free caching plugin with robust features, WP Fastest Cache might suit your needs. It offers browser caching, GZIP compression, and minification at no charge.
The plugin provides an intuitive dashboard where you can easily set up your site’s caching configuration. Simply tick a box to leverage browser caching and click a button to delete all cached files.
On another note, you can get additional features like mobile cache, widget cache, and cache statistics by purchasing the premium plan that costs $49.99. However, please note that each license only works for one website.
You can easily download and install the free version from the WordPress plugin directory. However, it’s a bit different if you’ve purchased the premium version.
An email containing the .zip file of the premium plugin will be sent to your email. After that, upload the file to WordPress via the Plugin menu, and you’re ready to go!
Looking for more ways to speed up your website?
Check out our guide on enabling keep-alive
Testing Browser Caching
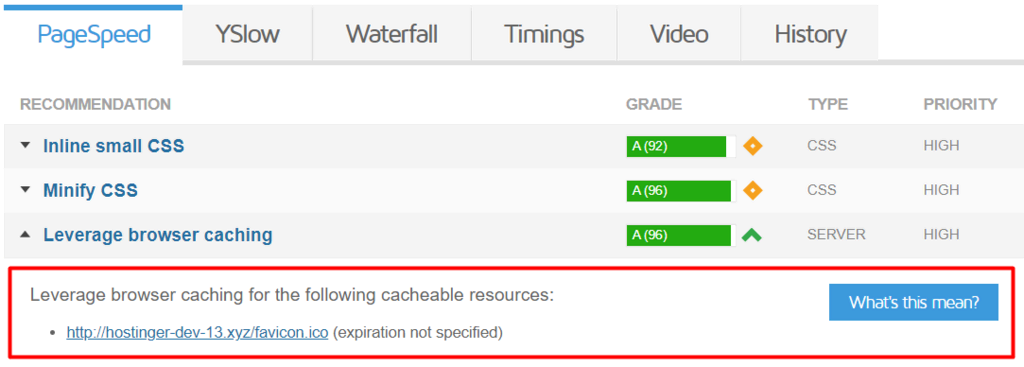
To check how leveraging browser caching affects your website speed test, use an analysis tool like GTMetrix. For instance, here is our result before enabling browser caching:

After inserting the code into the .htaccess file, we scored a perfect 100:

Conclusion
You’ve learned how to improve your site performance by leveraging browser caching. There are two ways to do it — inserting code into .htaccess file and installing a caching plugin. Once it’s enabled, you will see how it affects your page speed.
Do you have any questions regarding browser caching? Let us know in the comment section below!


Comments
June 13 2022
Why do you recommend wp-rocket and not litespeed cache for static files?
July 14 2022
Hey! We chose to highlight WP-Rocket plugin because LiteSpeed Cache only provides caching benefits to LiteSpeed server users ?
February 27 2023
How do I solve this issue Serve static assets with an efficient cache policy???
March 03 2023
Hello! The issue can be fixed by adding a few lines to your .htaccess file as guided in this article. Alternatively, if you are using WordPress, plugins like LiteSpeed Cache takes care of this issue.
March 15 2023
I tried the exact code. Copied and pasted, but its not working.
March 17 2023
Hello! Make sure that the code is added to the .htaccess file on the public_html directory. Another option is to use free caching plugins like LiteSpeed Cache, it has a separate option for browser caching.