How to migrate from Siteground to Hostinger
If SiteGround no longer meets your website’s needs, it might be time to switch to a new hosting provider. Migrating can boost performance, enhance user experience, and provide stronger security for your site.
Why move to Hostinger? Our hosting environment is optimized to meet the highest performance and security standards, whether you’re using WordPress, Joomla, or another CMS platform.
In this article, we’ll guide you through the process of migrating from SiteGround to Hostinger.
1. Export your website from Siteground
Follow these steps to export your website’s files and databases from Siteground:
- Log in to your Siteground account.
- Go to Websites and access the website you want to migrate.
- On the right side under Actions, click Site tools.
- Choose Security → Backups.
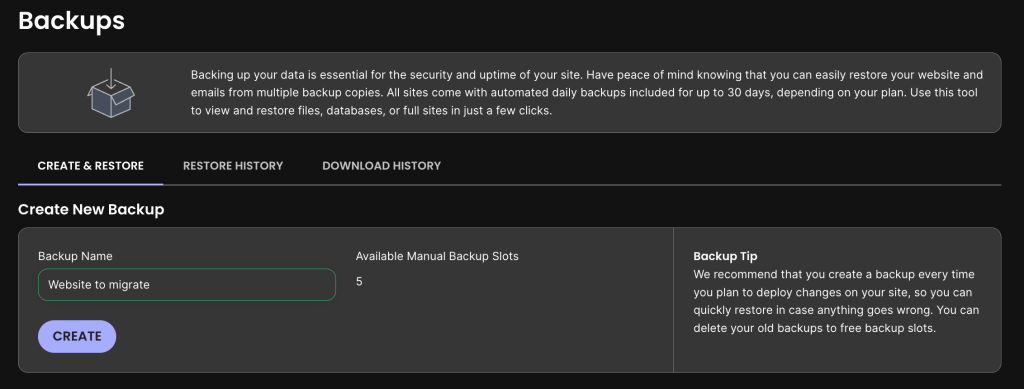
- Name your backup file, then choose Create. This will create the latest backup file of your website.
- Once created, locate your website backup and click the three horizontal dots under Actions. Then, choose Download from the dropdown.
- When the backup file is ready, click Download from the pop-up box.
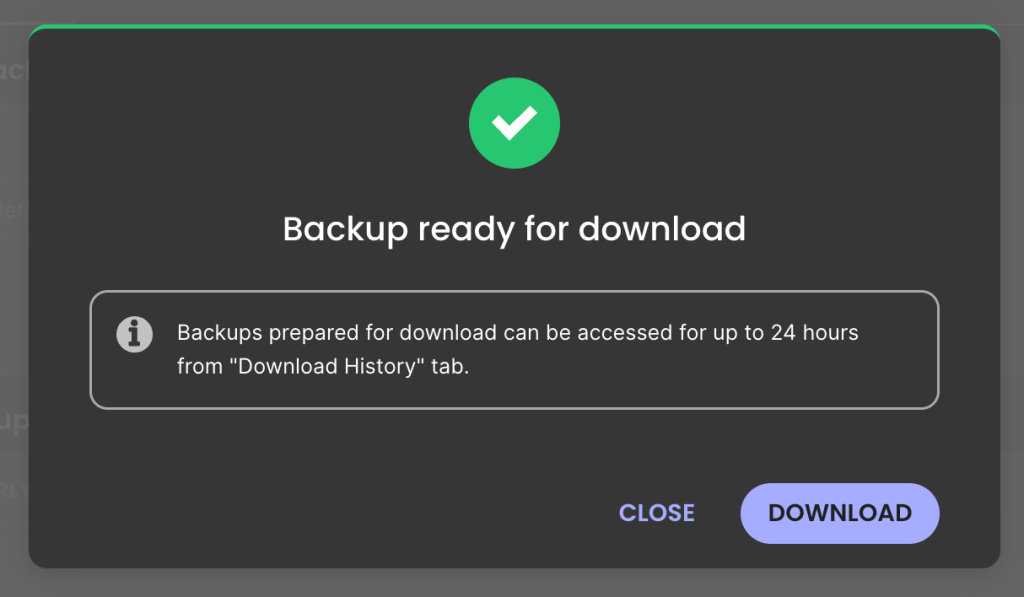
- The backup file will be downloaded in .tar.gz format.
2. Migrate a WordPress website from Siteground to Hostinger
If you have a WordPress website, follow these steps to migrate it from Siteground to Hostinger:
- Buy one of Hostinger’s Managed WordPress hosting plans and follow the onboarding process.
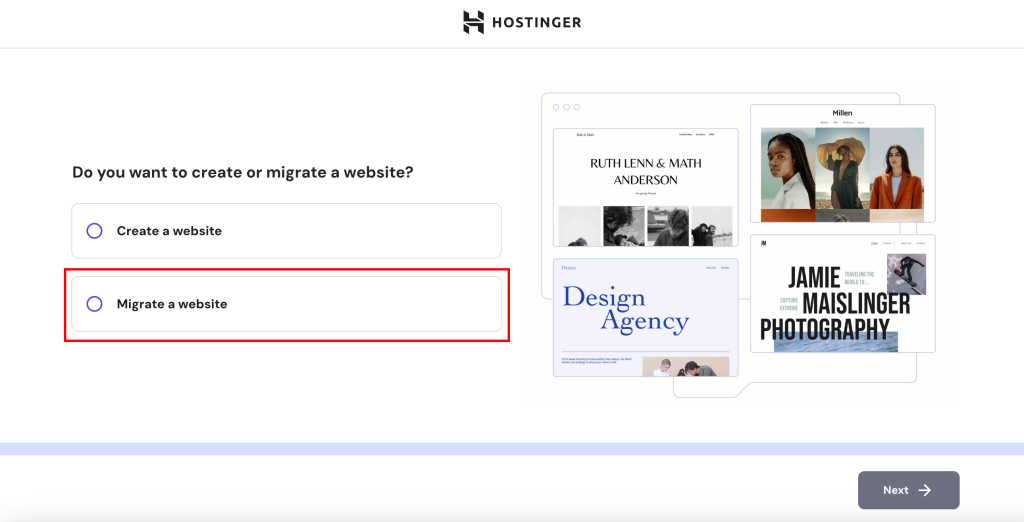
- On the page of creating or migrating a website, select Migrate a website and click Next.
- Choose Upload WordPress website backup on the bottom right section. Enter your destination domain.
- Select where you want to migrate the website.
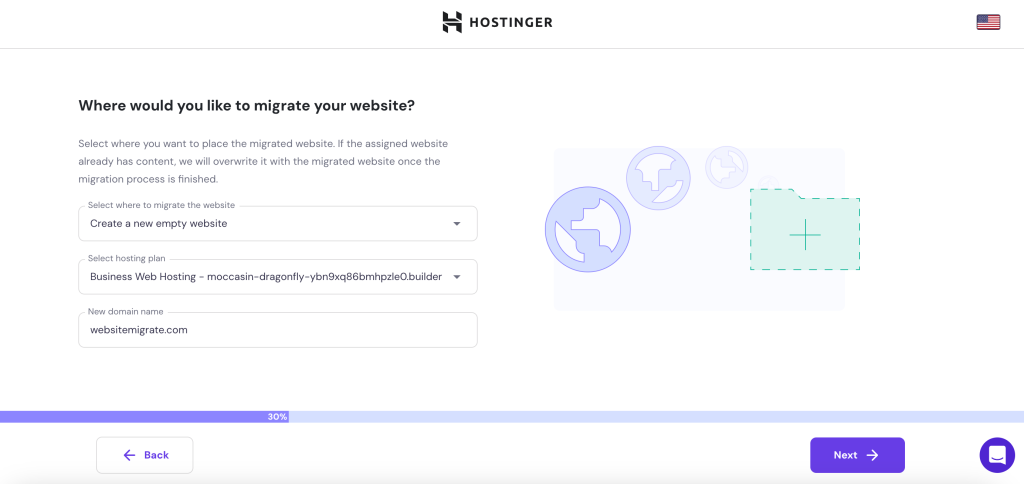
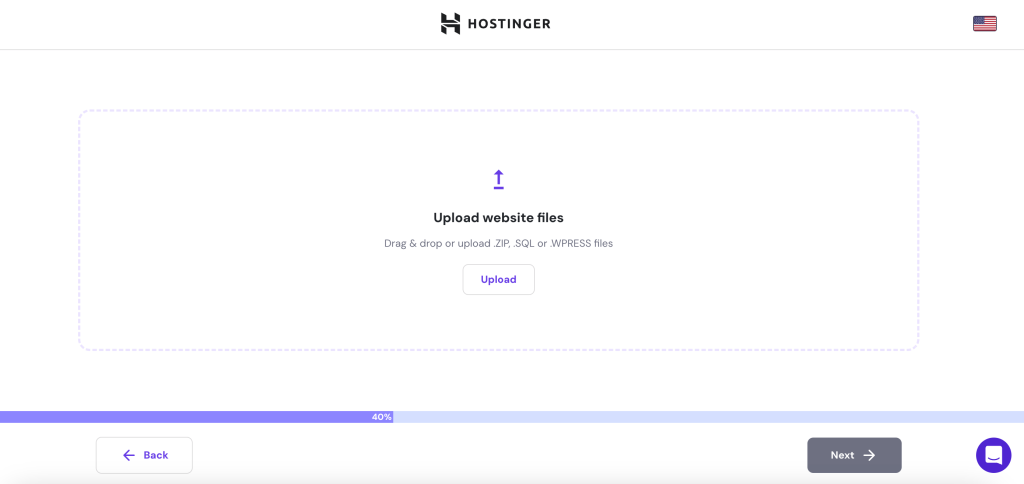
- Upload the .tar.gz website file from Siteground and the SQL database file. After that, follow the rest of the migration steps.
- Review the migration summary and click Submit request. If all the information is correct, the migration should be completed within a few hours. Check the migration status via hPanel on Website → Migrate website → Manage migration requests.
- After the website is successfully migrated, remember to point your domain to Hostinger.

3. Migrate a non-WordPress website from Siteground to Hostinger
The migration process for non-WordPress websites varies slightly. Here’s the step-by-step guide:
- Purchase one of our hosting plans and follow the onboarding process.
- When asked for your website name, enter your domain name and click Next to proceed.
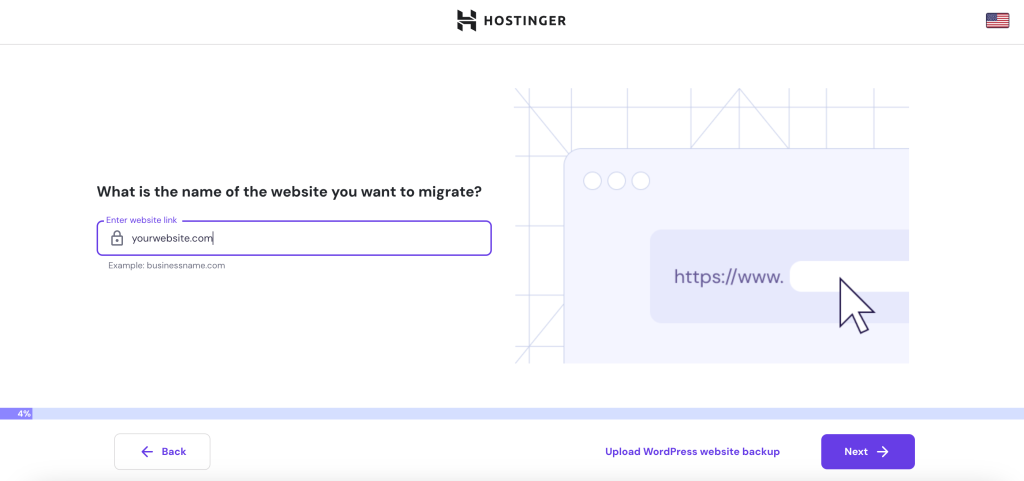
- Select a domain for the migrated website. Click Next when you’re ready.
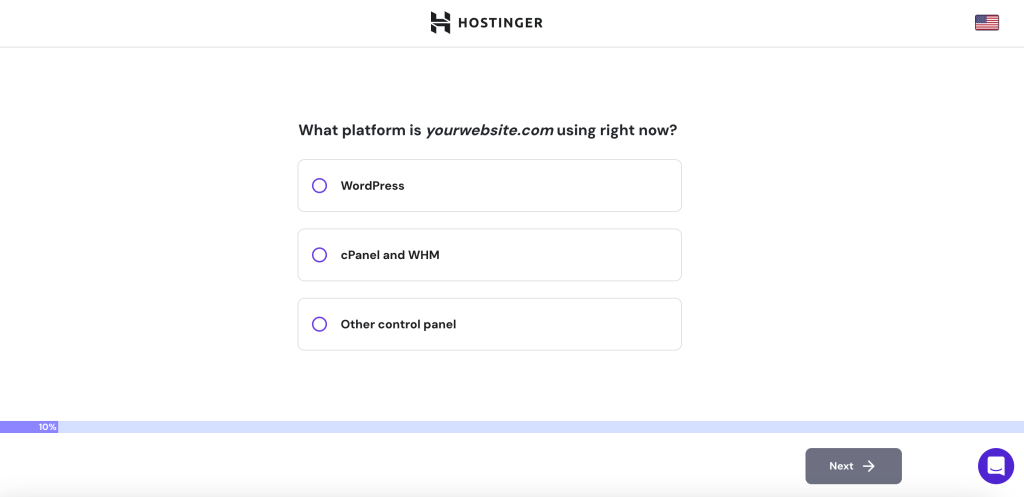
- Proceed with the process by choosing the platform your website is currently hosted on, then click Next.
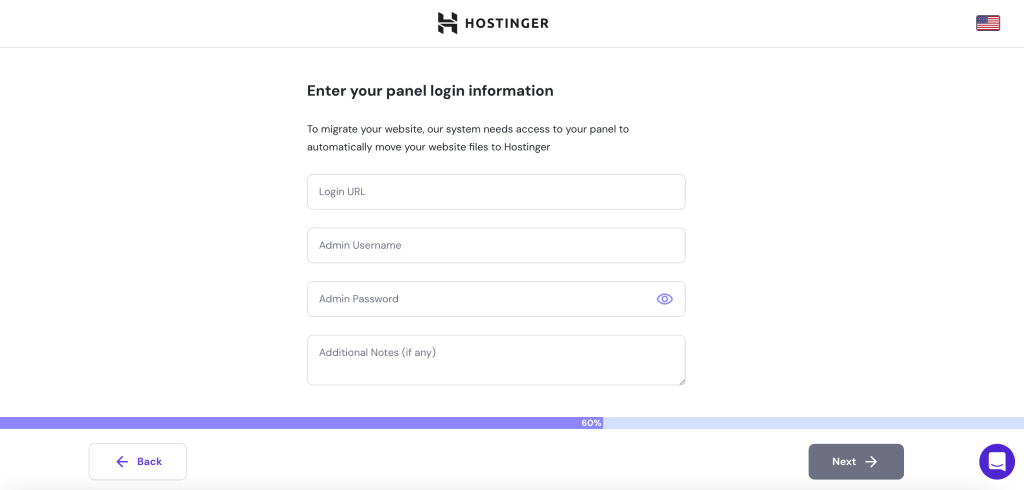
- Enter the login URL and admin credentials.
- Complete the remaining instructions and submit your migration request. On average, the migration will be processed in 20 hours, and your website will stay up and running the whole time.
Conclusion
Switching your website to a new hosting provider is a smart way to ensure it has the necessary resources and tools for top performance.
With Hostinger’s free automatic website migration service, the process is fast and hassle-free. Simply submit a request and our team will handle everything for you.

Nurul Siregar has over 3+ years of experience in the tech industry with a passion for writing about digital marketing. Nurul enjoys reading fiction novels and making digital illustration in her free time. Follow her on LinkedIn.