How to migrate your website from GoDaddy to Hostinger
If your current hosting can no longer support your needs, it’s time to switch web hosts. Doing so helps enhance web performance, provide a consistent user experience, and protect your website from security vulnerabilities.
Why not give Hostinger a shot? We optimize our hosting environment to exceed your CMS performance and security standards, whether you use WordPress, Joomla, or Drupal.
In this article, we’ll provide two different migration flows for WordPress and non-WordPress users. Feel free to follow the one that applies to your website.
No matter your CMS, the migration process will be smooth and absolutely free.
Export your website from GoDaddy
GoDaddy has a backup tool you can use to export your website’s files and database. Here’s how:
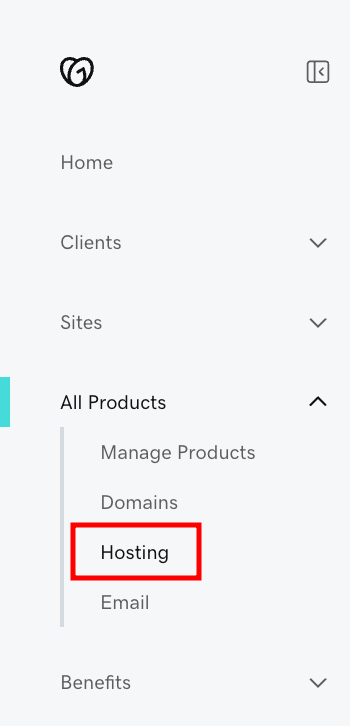
- Log in to your GoDaddy account and navigate to the website you want to migrate from All Products → Hosting.
- Open the Backups tab and click Backup Now.
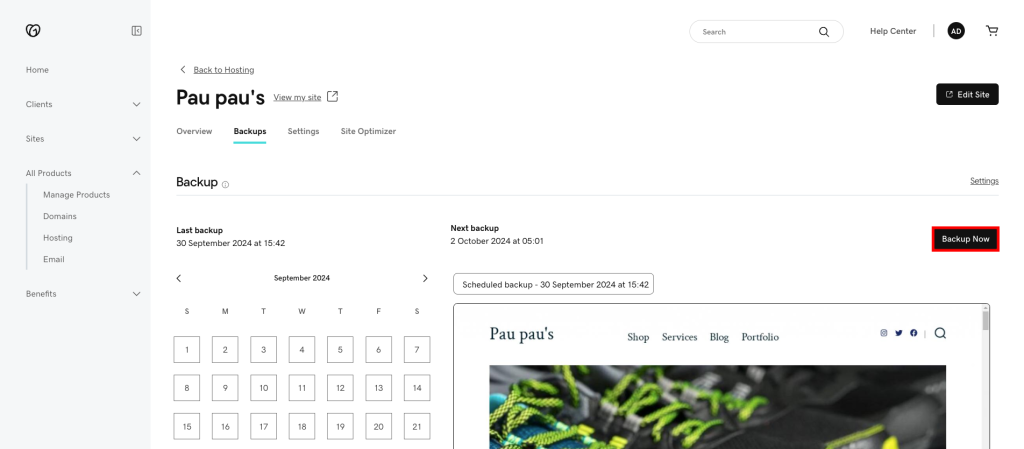
- Enter the name for the backup file and hit Save.
- Once the backup is compiled, click Download Backup.
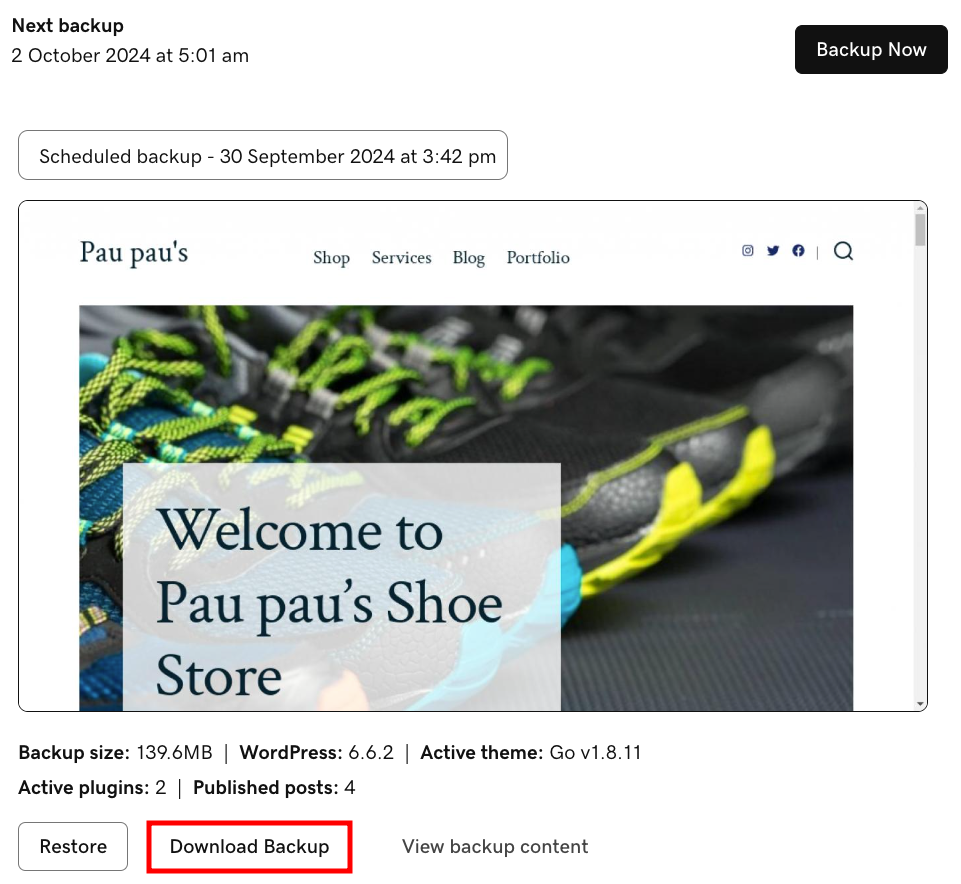
- Select Download all to export both the website files and databases, and then hit Start Download.
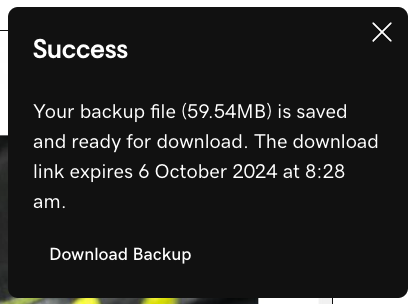
- A popup will appear in the right corner of the screen when the compressed backup files are ready for download. Click Download Backup to export the .zip file to your local storage.
- Since you need to import your database file separately, make sure to create a separate copy. Unzip the backup file and open the mwp_db folder to locate the SQL file.
Migrate a WordPress to Hostinger
Here’s how to migrate a WordPress website to Hostinger:
- Purchase one of Hostinger’s Managed WordPress hosting plans and follow the onboarding process.
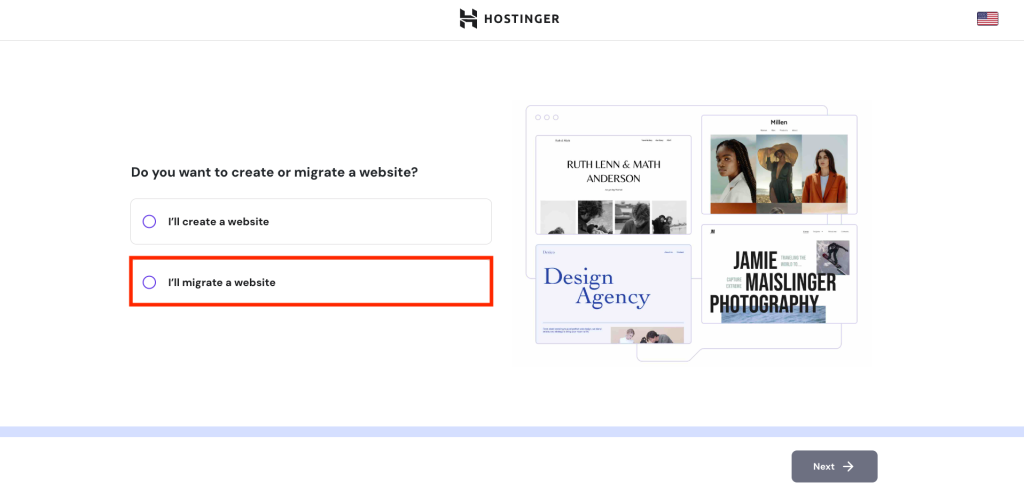
- When asked whether you want to create or migrate a website, select I’ll migrate a website and click Next.
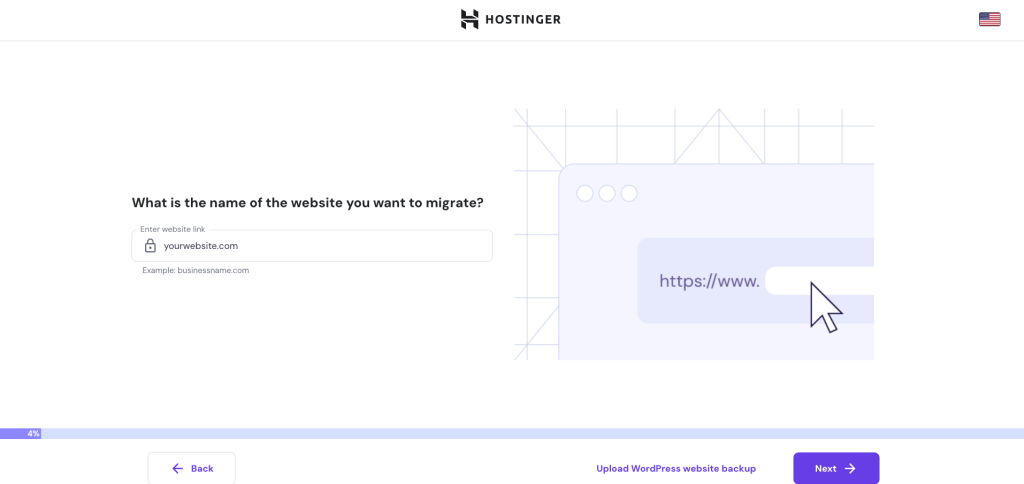
- Choose Upload WordPress website backup and enter your destination domain name.
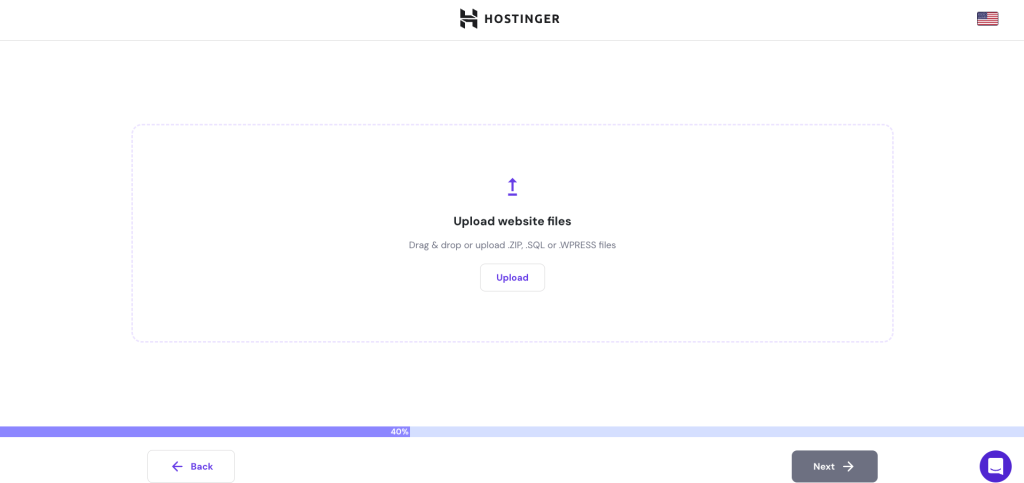
- Upload the .zip file from GoDaddy and the SQL database file, and then follow the rest of the migration steps.
- After reviewing the migration summary, click Submit request. If all data is correct, it should be done within 48 hours. You can check the migration status on hPanel via Website → Migrate Website → Manage Migration Requests.
- Congratulations! Your website has successfully migrated to Hostinger. To complete the process, make sure to point your domain to Hostinger as well.

Migrate a non-WordPress website to Hostinger
The migration process for non-WordPress websites is slightly different. Here’s how:
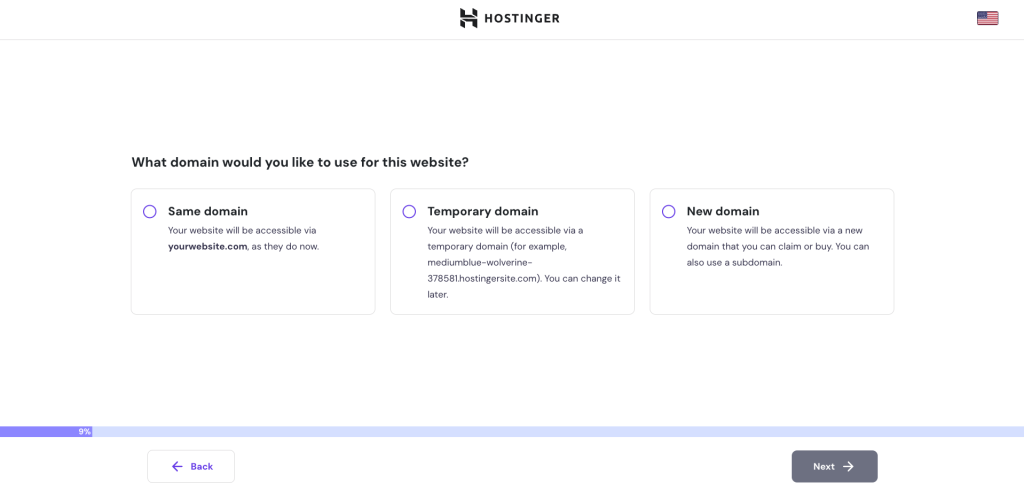
- Purchase one of our hosting plans and follow the onboarding process until it asks for your website name. Enter your domain name and hit Next.
- Pick a domain for the migrated website. Click Next.
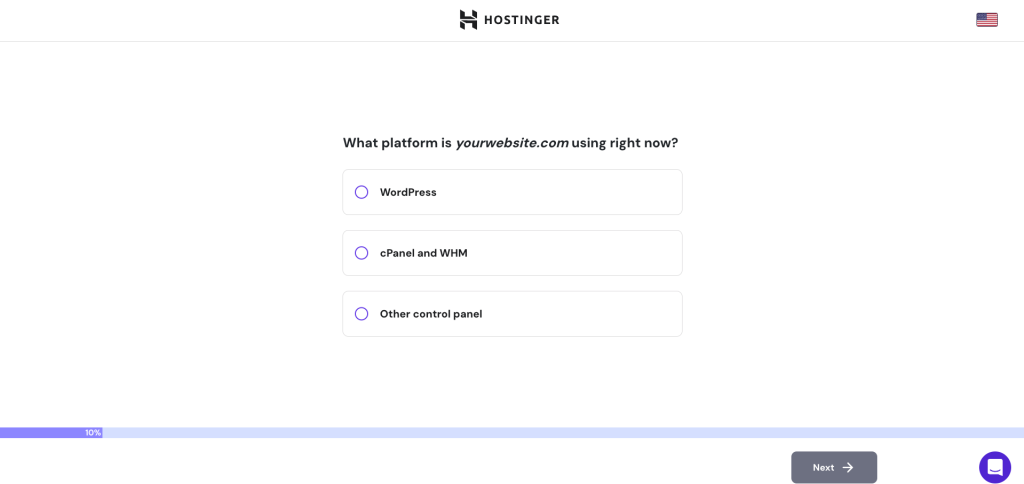
- Select the platform your website is currently on and select Next.
- Enter the login URL and your admin credentials.
- Follow the rest of the instructions and submit your migration request. The migration should be done within 48-96 hours.
Did you know?
Hostinger offers Drupal and Joomla hosting plans with tools optimized for their respective platforms.
Conclusion
Migrating a website to another hosting provider is a common practice to make sure it has all the resources and tools needed for optimal performance.
With Hostinger’s free automatic website migration, you can make that move quickly and easily. Simply submit a request, and we’ll take care of the rest.
Got any questions? Leave a comment below!

Jordana is a Senior Content Writer at Hostinger with a background in Information Systems. She has over five years of experience in WordPress and is casually dabbling with PHP and MySQL. Her passion for writing and technology drives her to create tutorials for anyone wanting to build their online presence. Follow her on LinkedIn.