How to migrate from WPEngine to Hostinger
Any website owner might need to migrate to a different hosting provider at some point. If that’s you, why not migrate to Hostinger?
As a hosting provider recommended by WordPress.org, we curate our hosting solutions to meet all needs, budgets, and skill levels. On top of that, we also make sure that migrating to Hostinger is quick and easy.
Follow these two simple steps to migrate your website from WPEngine to Hostinger.
Step 1. Export your site from WPEngine
WPEngine has a built-in backup tool that you can use to move your website’s content and database to another host. Here’s how:
- Head to Sites and go to Manage → Backups → Create backup.
- Fill in the backup description and email notification fields, then hit Create.
- Once completed, you’ll see a new entry in the Backup list. Click on the three-dot icon and choose Prepare ZIP.
- Select Full Backup to back up all of your site’s content, and then enter your email to receive a notification when the backup is complete.
- Click Prepare ZIP to compile the backup file for download.
- Go back to the Backup list and select Download ZIP.
- WPEngine will send the ZIP file to your email.
- Open the ZIP file and delete the following PHP files:
- wp-content/advanced-cache.php
- wp-content/object-cache.php
- wp-content/mu-plugins/mu-plugin.php
- wp-content/mu-plugins/wpengine-common/
- wp-content/mu-plugins/slt-force-strong-passwords.php
- wp-content/mu-plugins/force-strong-passwords/
- wp-content/mu-plugins/stop-long-comments.php
- wp-content/mu-plugins/wpe-wp-sign-on-plugin/
- wp-content/mu-plugins/wpe-wp-sign-on-plugin.php
- wp-content/mu-plugins/wpengine-security-auditor.php
- Since you need to import your database file separately, make sure to create a separate copy of it. The file can be found at wp-content/mysql.sql.
Step 2. Request free migration to Hostinger
After getting your backup file from WPEngine, you can start the migration process to Hostinger. Here’s how:
- Purchase one of Hostinger’s WordPress hosting plans, and then follow the onboarding process.
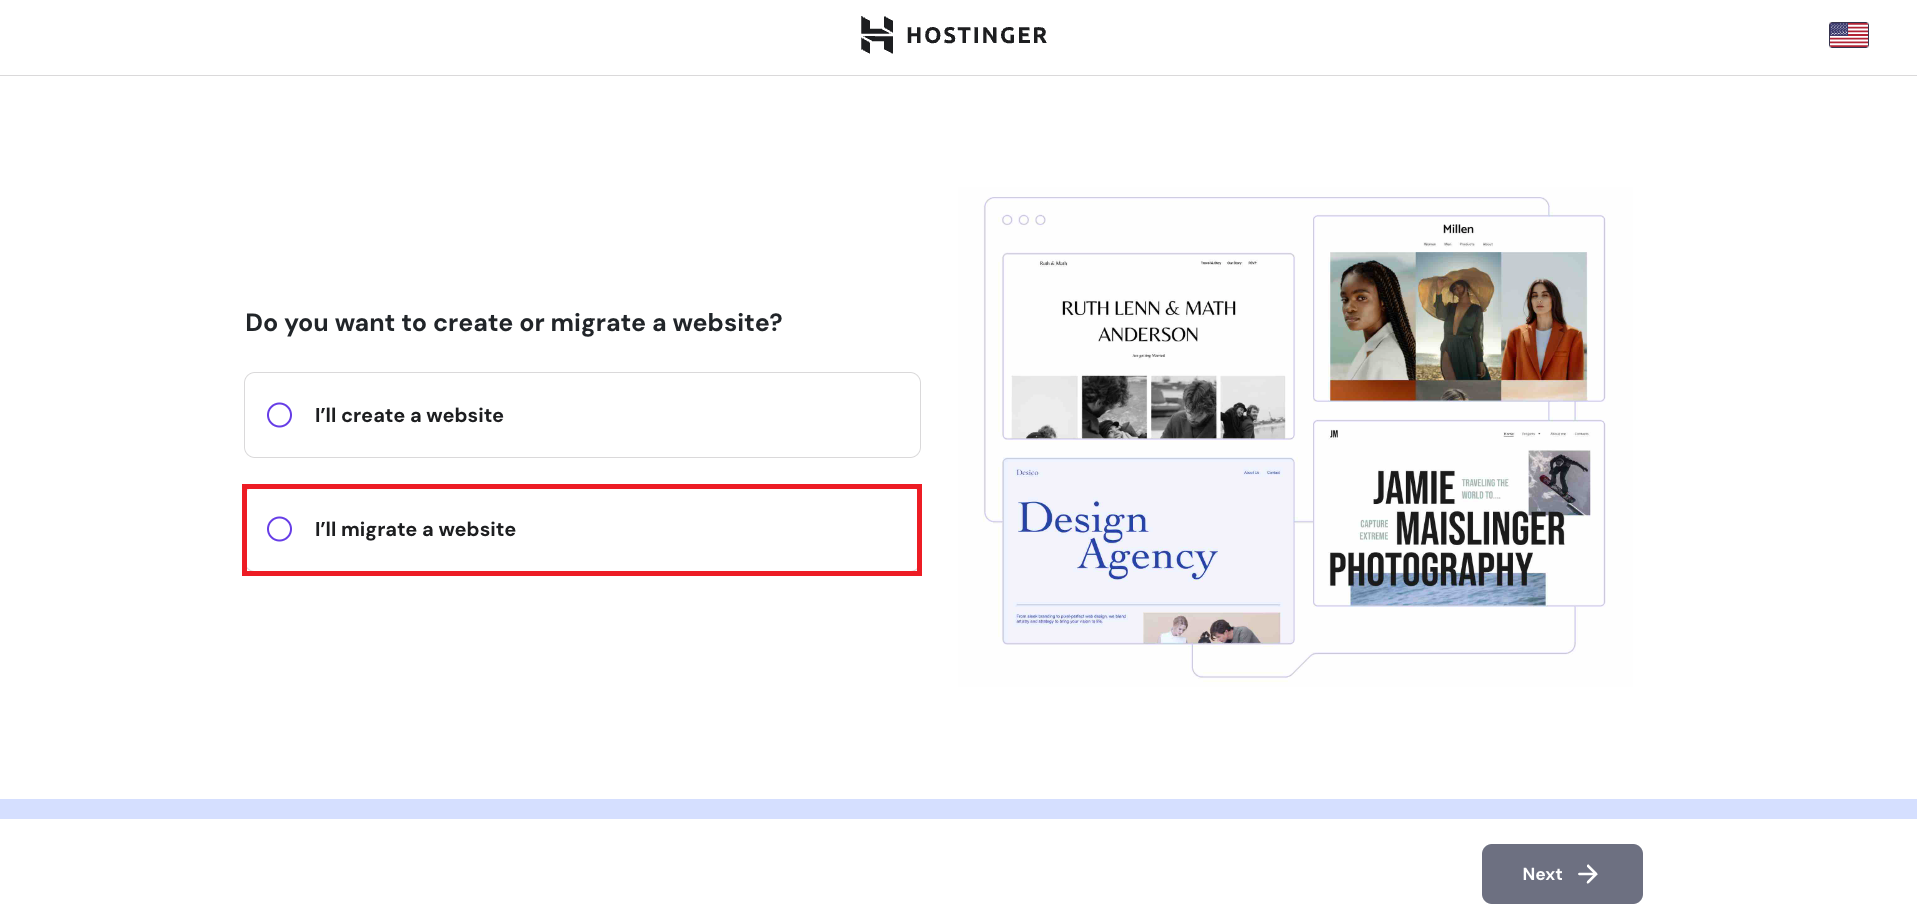
- When asked whether you want to create or migrate a website, choose I’ll migrate a website and click Next.
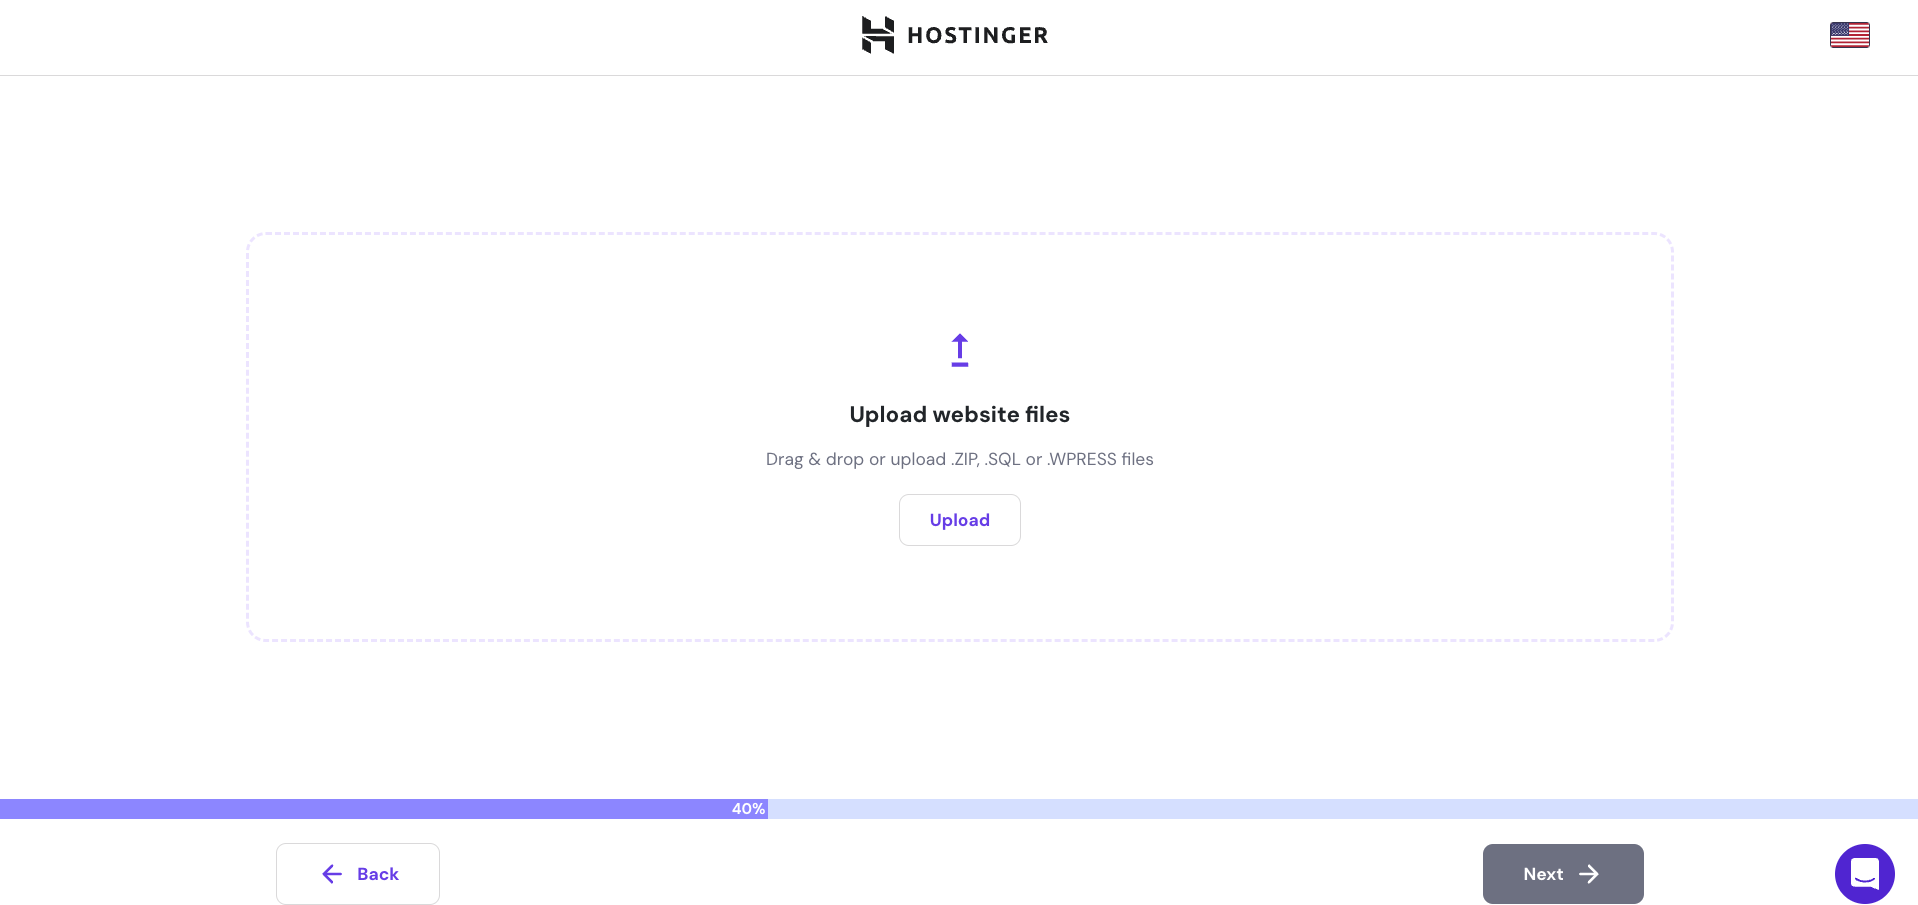
- Choose Upload WordPress website backup and enter your destination domain name.
- Upload the ZIP file from WPEngine and the SQL database file, and then follow the rest of the migration steps.
- At the end of the process, review the migration summary and click Submit request. If all data is correct, it should be done within 48 hours. You can check the migration status on hPanel via Website → Migrate Website → Manage Migration Requests.
- Once your website has successfully migrated to Hostinger, don’t forget to point your domain to Hostinger as well.

Conclusion
Migrating to a different hosting provider is a common way to keep your website performing optimally, especially if your current provider isn’t meeting your expectations.
With Hostinger’s easy migration process, you can make the switch with minimal downtime and little to no hassle.
Are you ready to unlock your online potential with us?

Jordana is a Senior Content Writer at Hostinger with a background in Information Systems. She has over five years of experience in WordPress and is casually dabbling with PHP and MySQL. Her passion for writing and technology drives her to create tutorials for anyone wanting to build their online presence. Follow her on LinkedIn.